


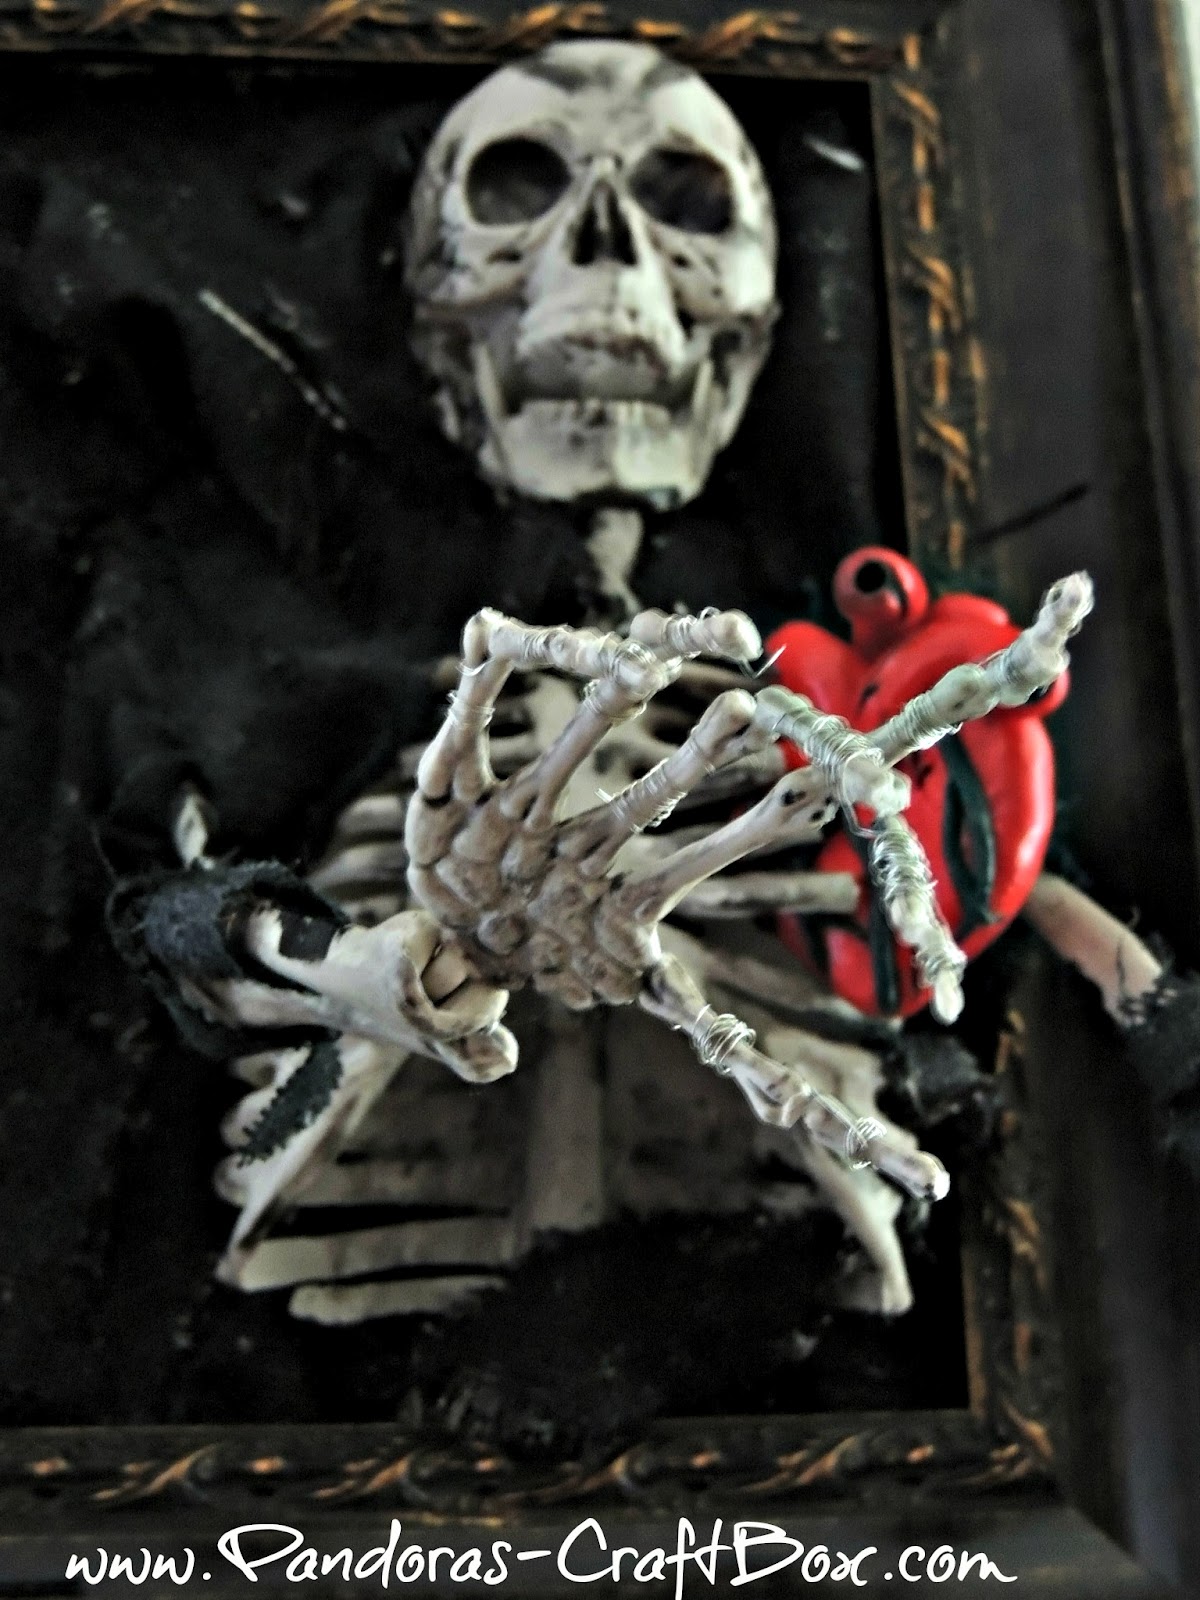
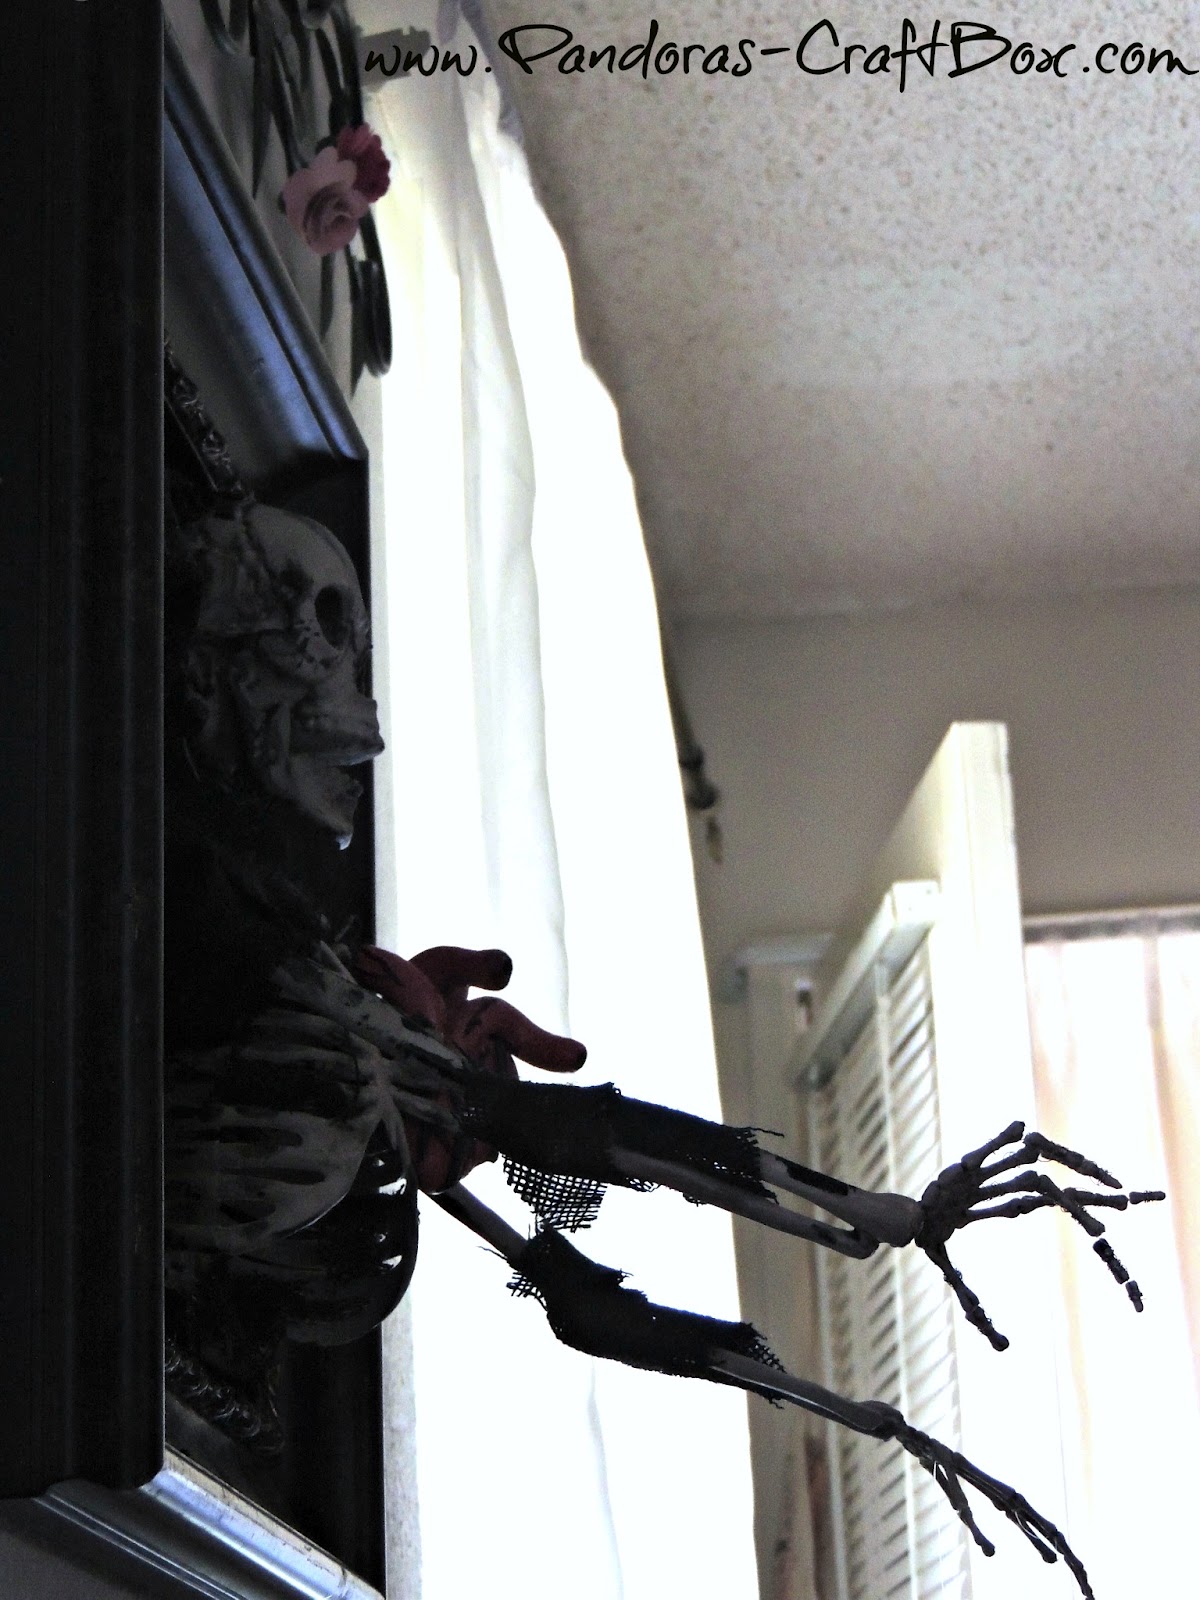
The spirits of the other side are ready to come out and play. Are you prepared the mischief they will cause? Using the a painting as a portal to the world of the living the evil spirits reaches for any passing soul to posses.
Watch out it might just me you.
Would you like to make one? Here are a few thing you will need.
Materials:
1. Cardboard (Free)
2. Skeleton (Michaels 14.99)
3. Modge Podge (own or 4.99 at Michaels)
4. Black paint & red paint (.59 cent)
5. Burlap ($2.00 for half a yard)
6. foam brush (.10 cent)
7. Frame (Michaels on clearance $9.99)
8. Clay ($8.99 Michaels)
9.Tape (own)
10. 24 gauge wire (own)
11. Scissors (own)
12. Saw (own $4.99)
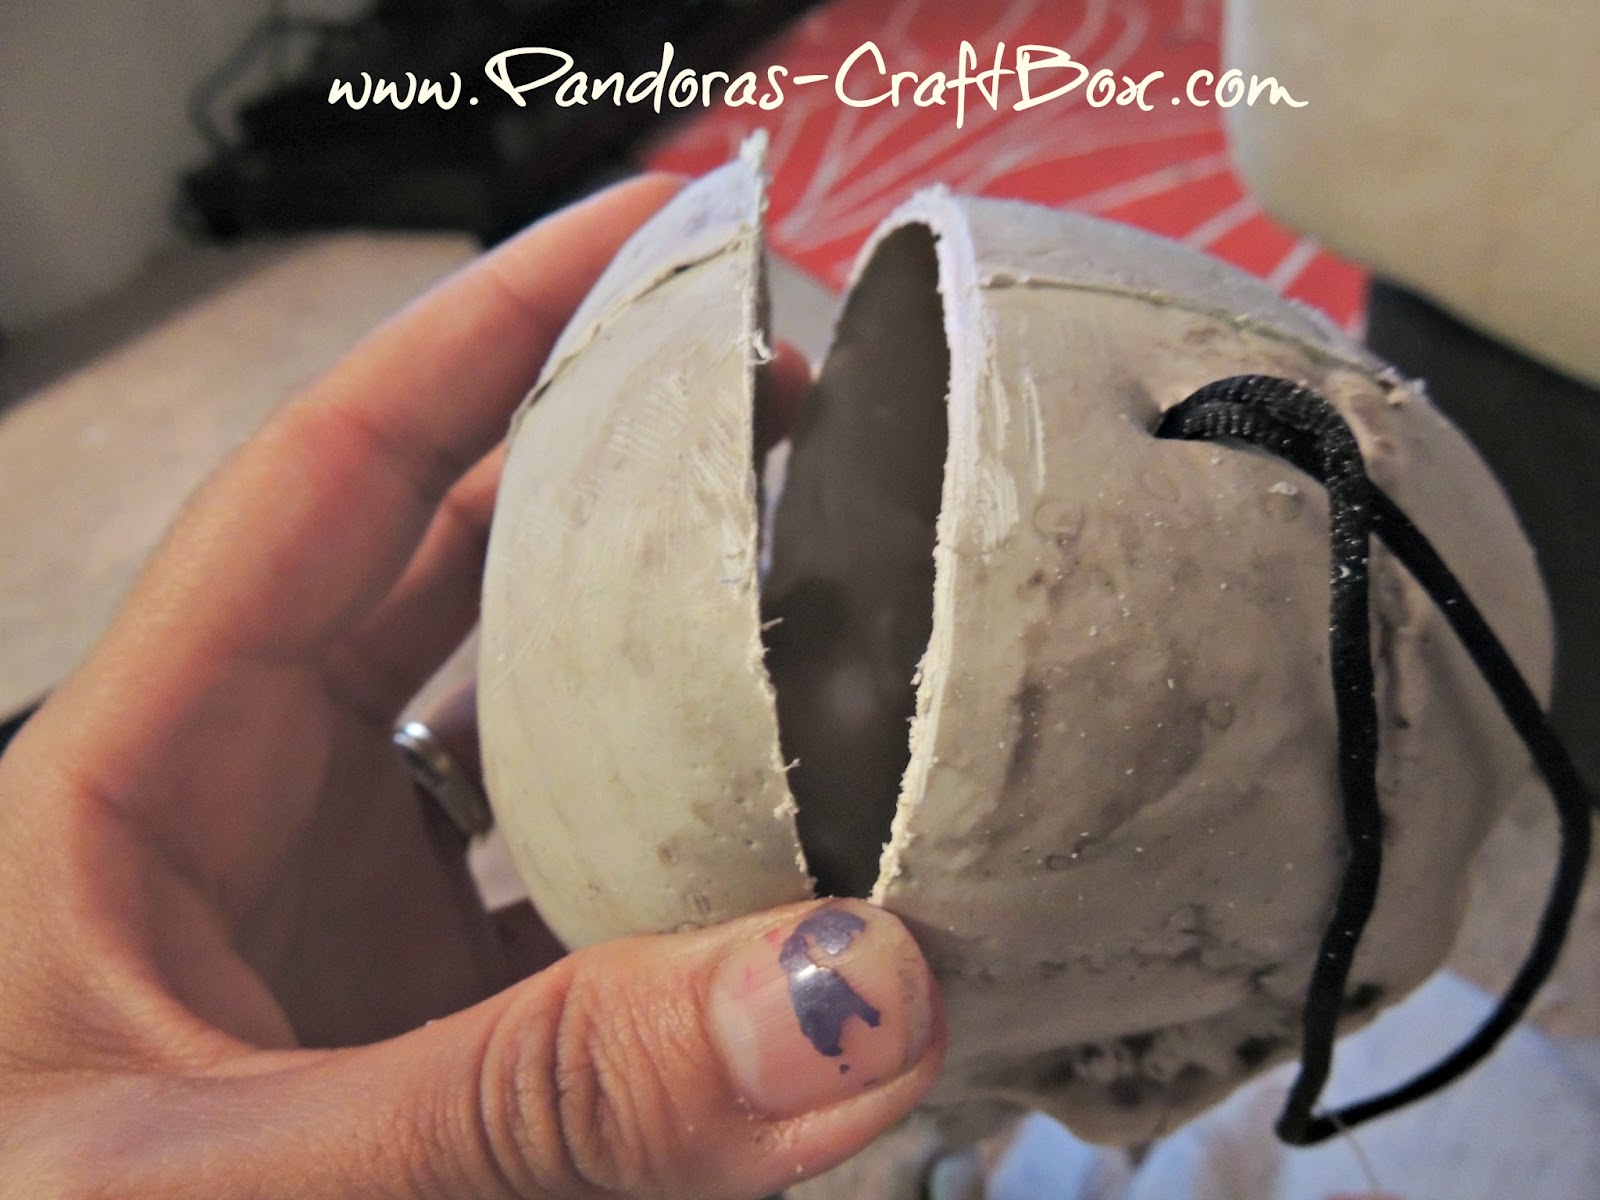
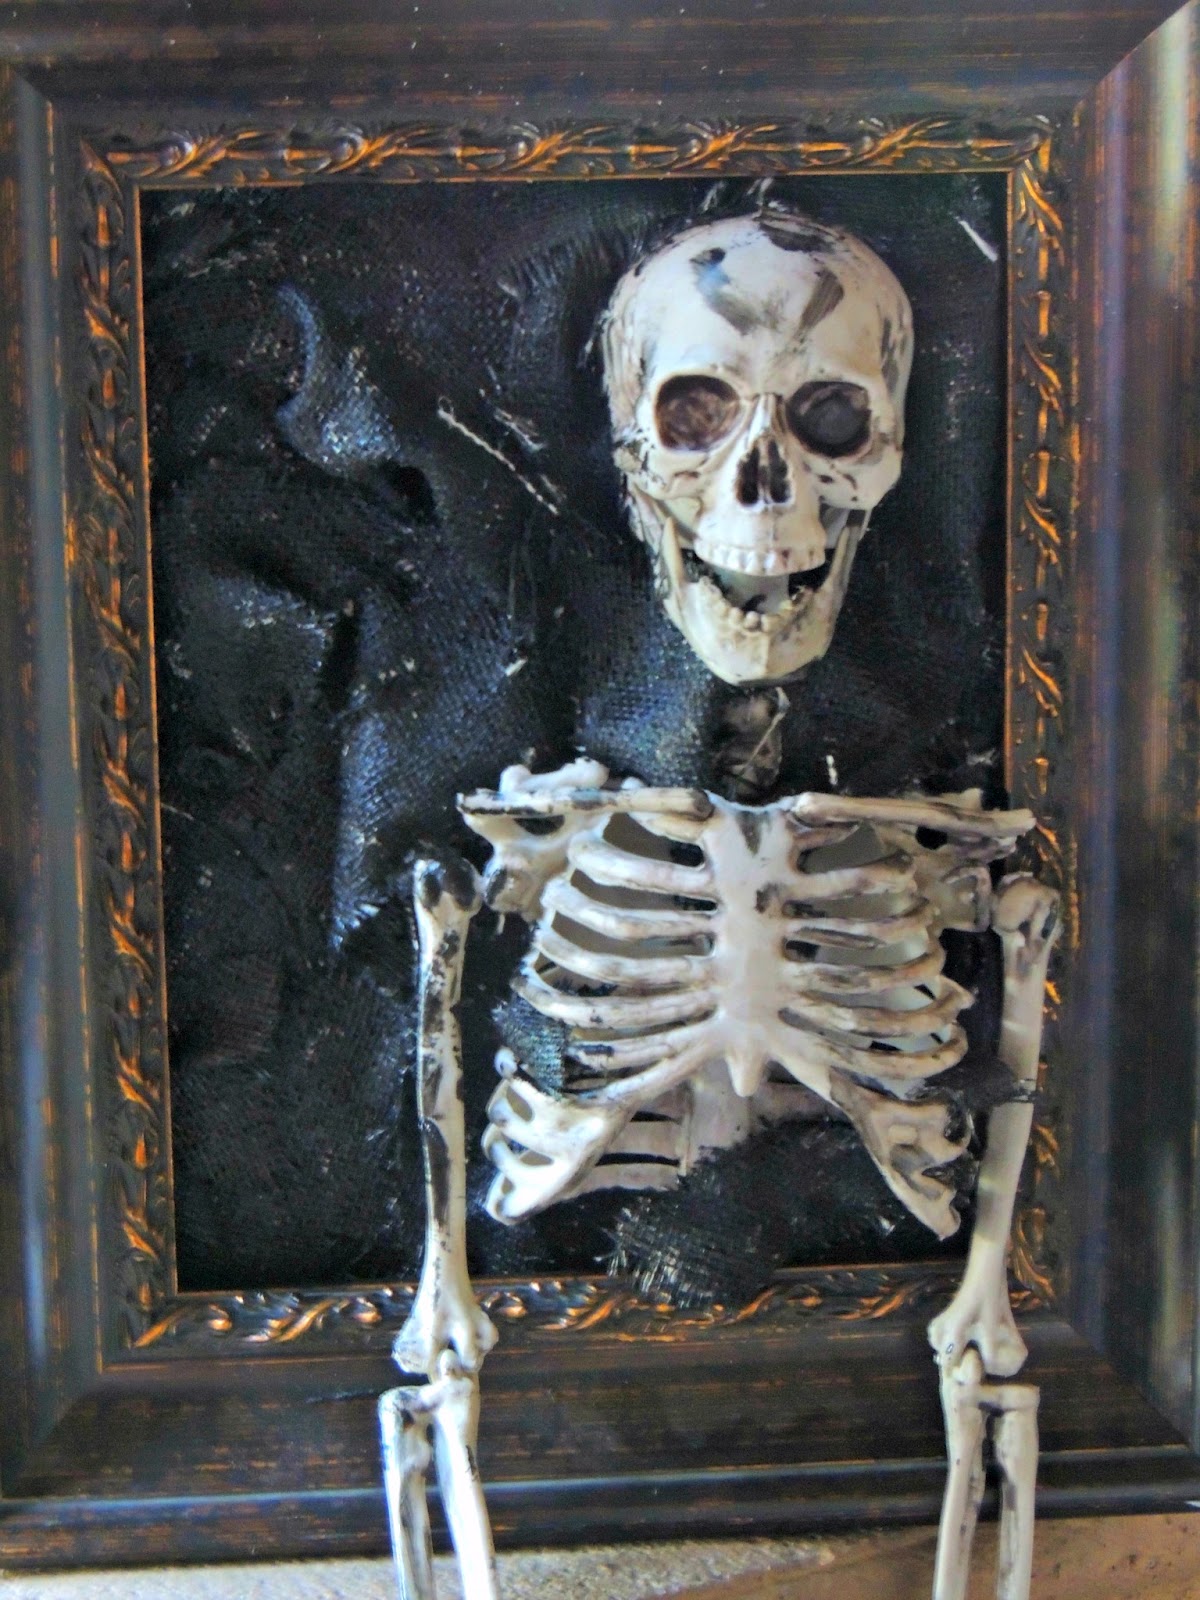
The first thing you will need to do is to cut the back of the skull of your skeleton because you want him to lay flat on the cardboard. Measure the cardboard to fit the inside of your frame. My frame is 8x10.
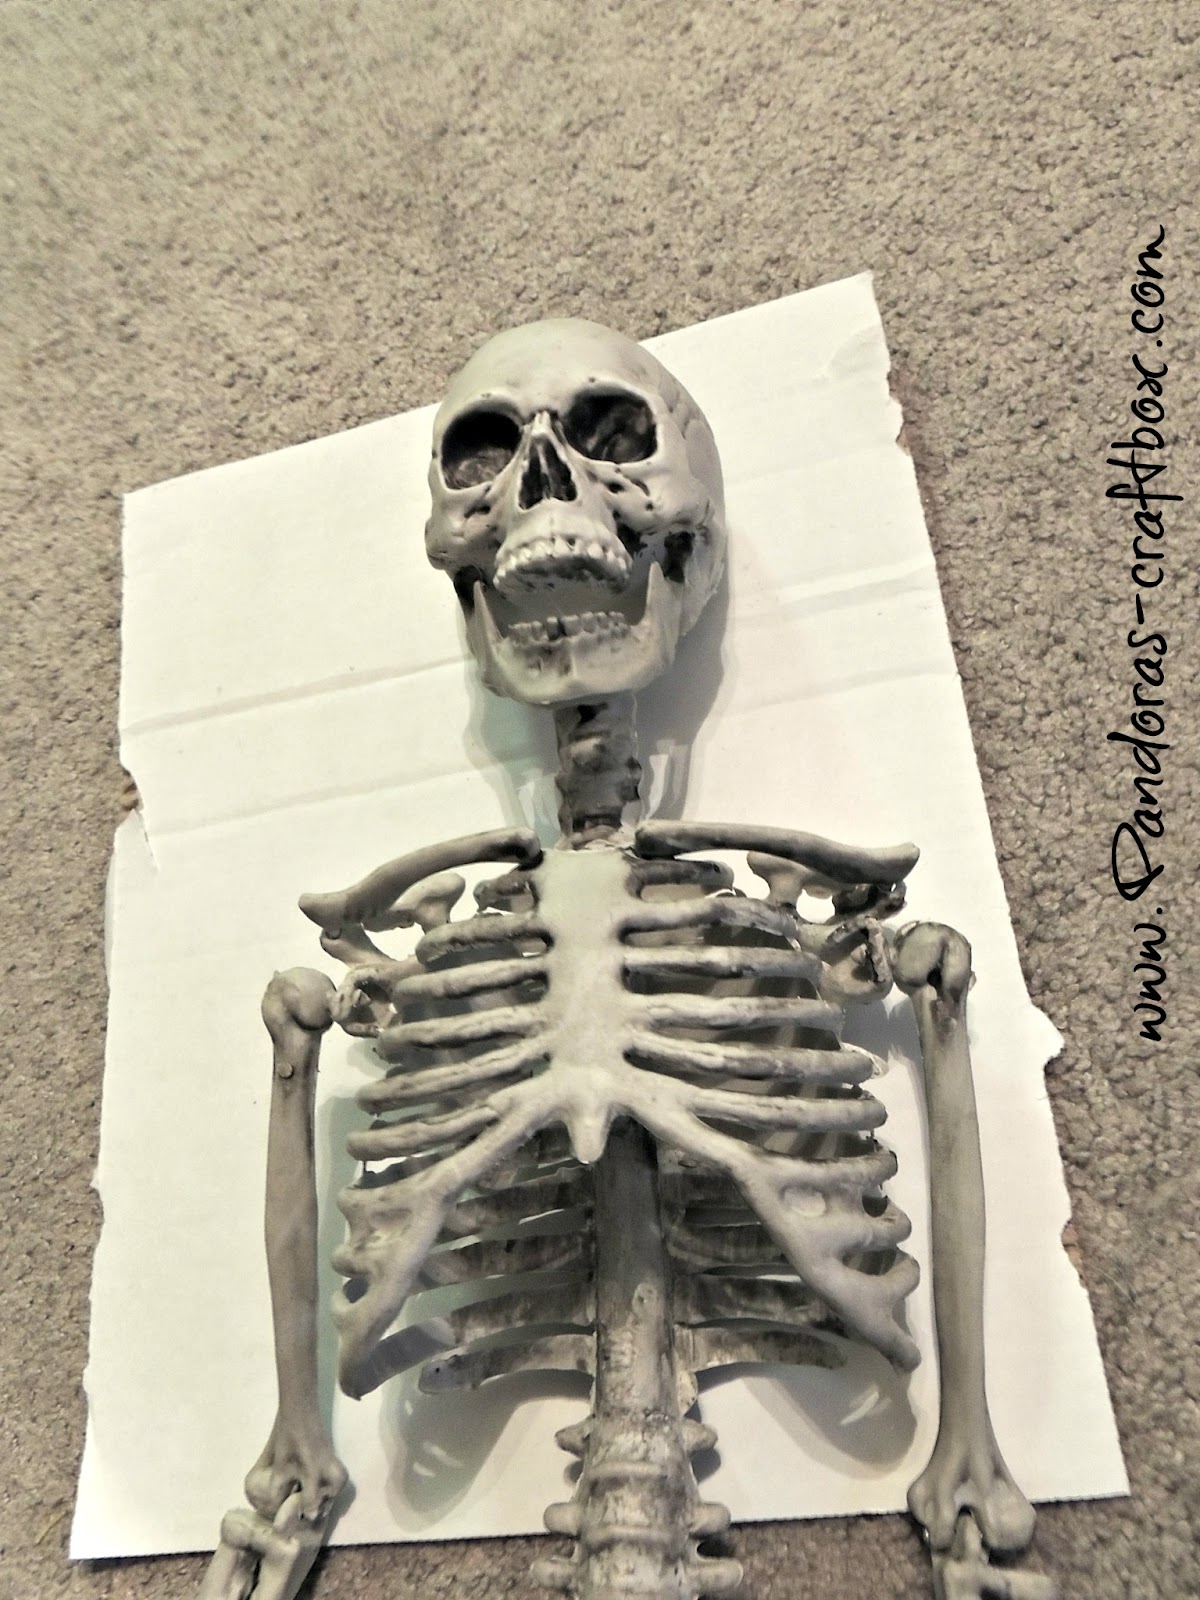
Position your skeleton, my skeleton name is Joe where you want him to be.

I felt bad cutting Joe up but he feel much better once all the extra weight is off.
I cut through the spice of Joe to make sure he could fit in the frame.
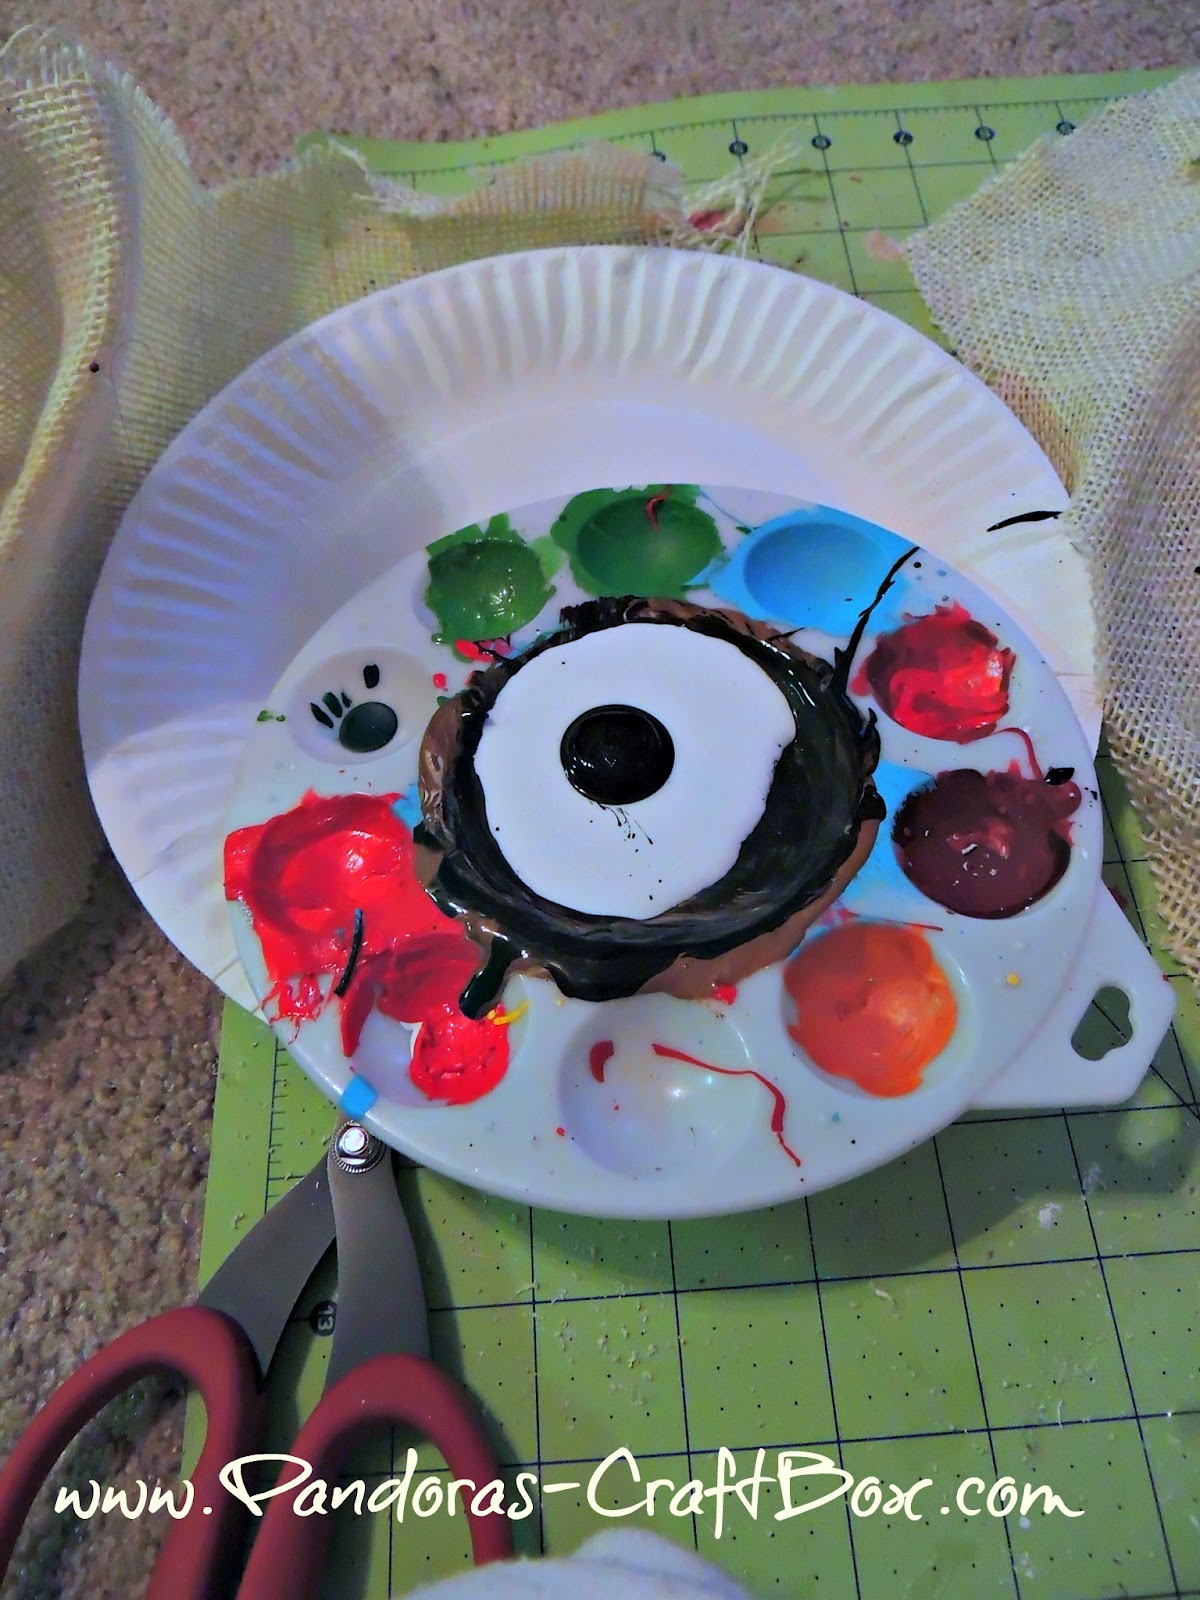
Mix modge podge with black paint with a foam brush.
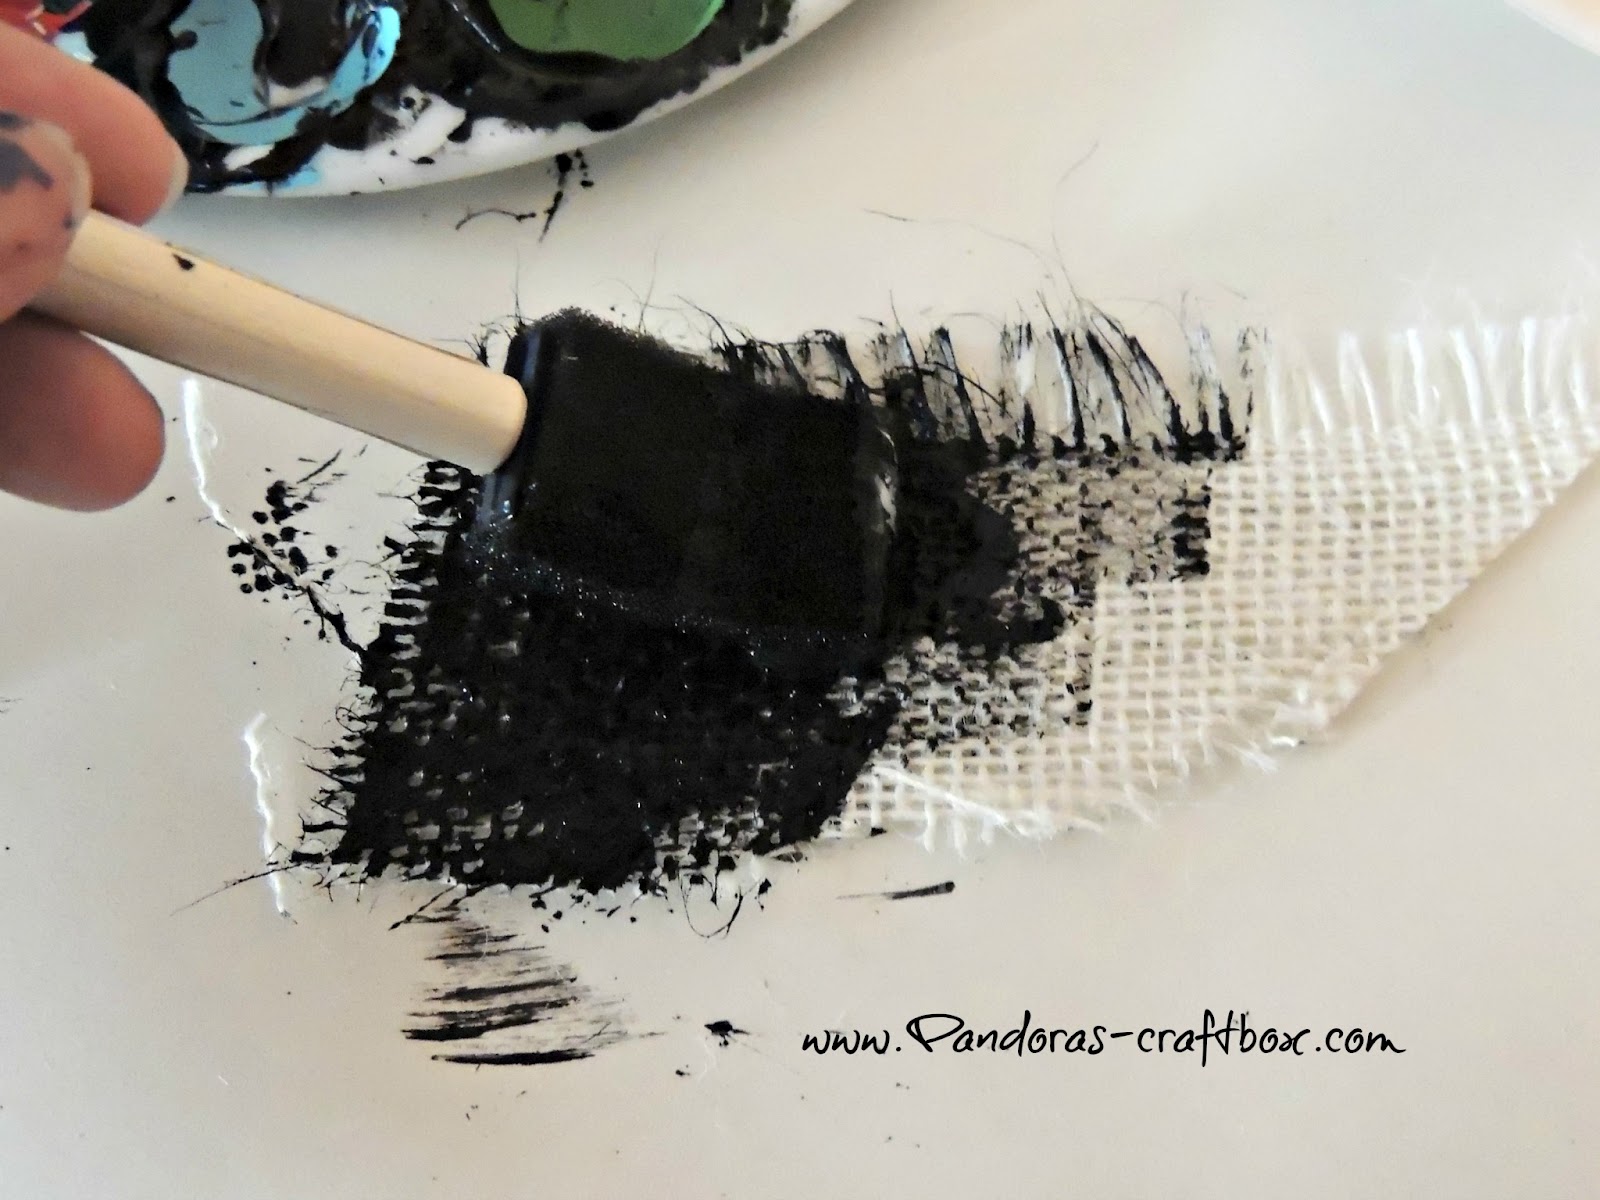
Now the messy part starts, use the mixture and paint the burlap with it.
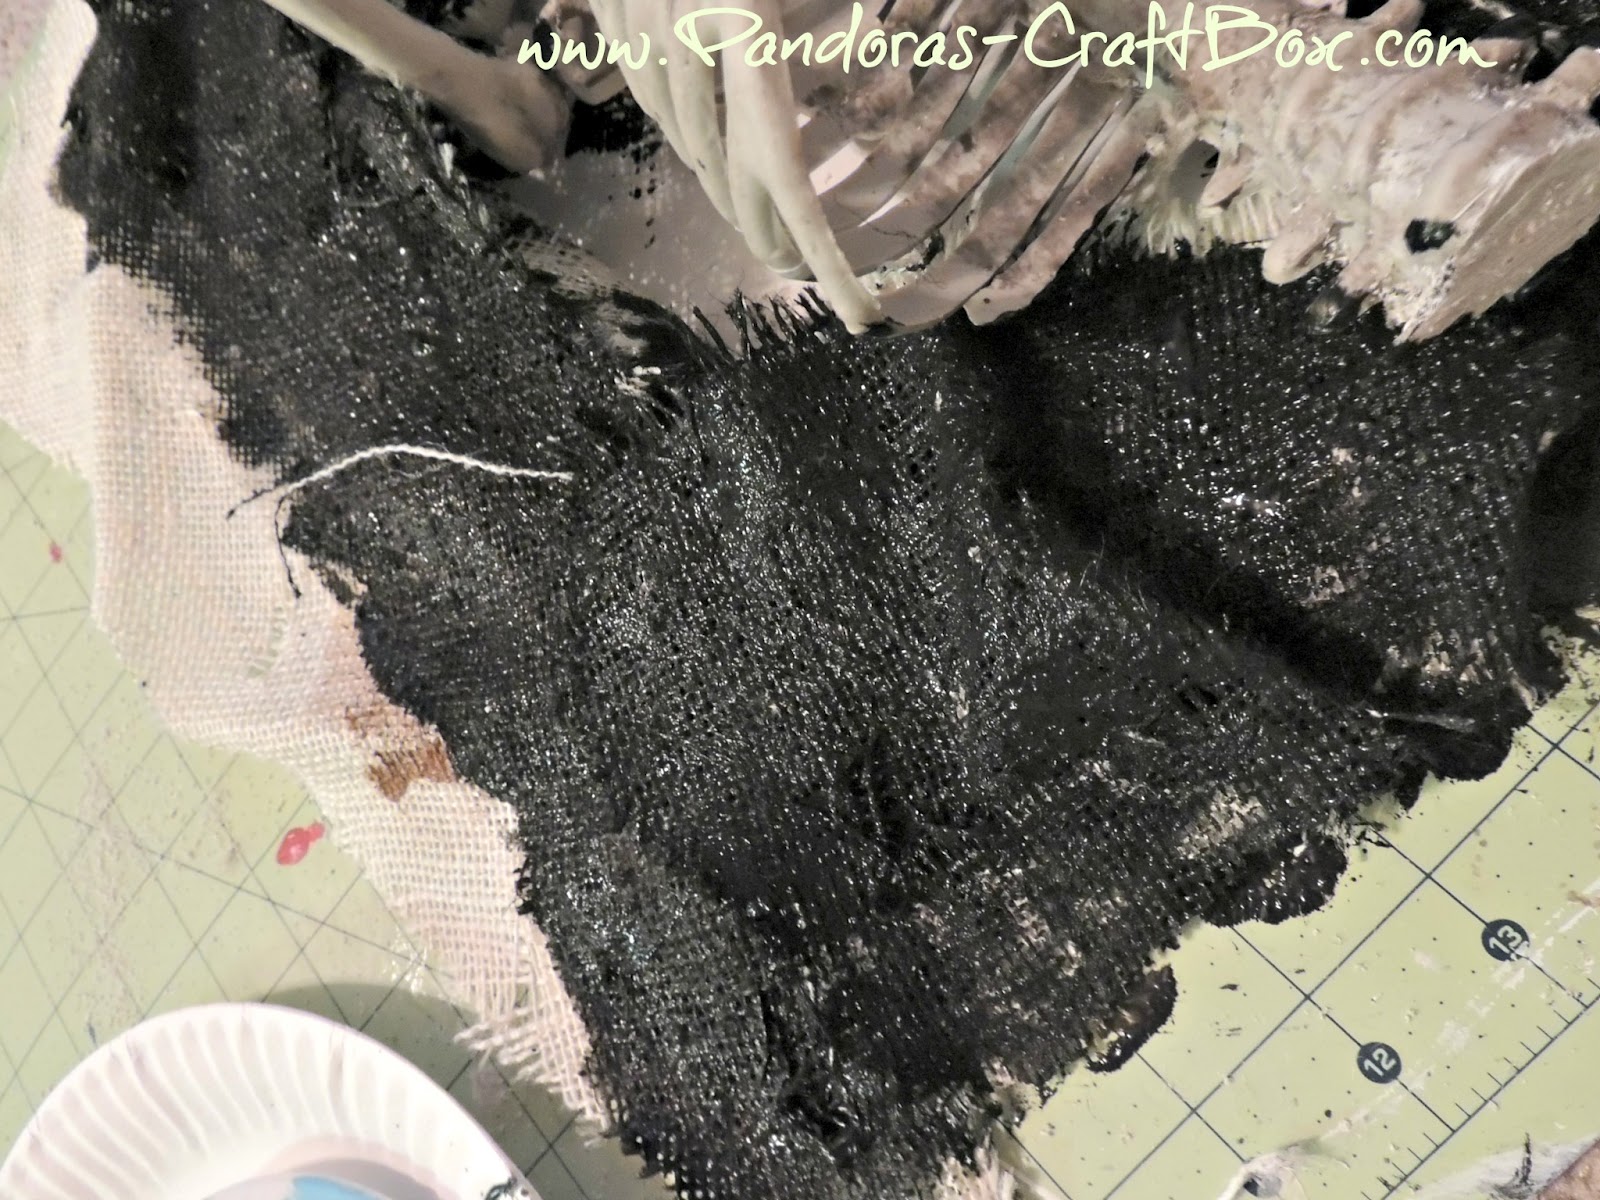
I told you it was going to get messy! Its going to look a little muddy but it will be worth it once it dries. You will need to cover the entire cardboard. Don't lay the burlap flat on the cardboard because you will need some depth with it to make it look realistic.
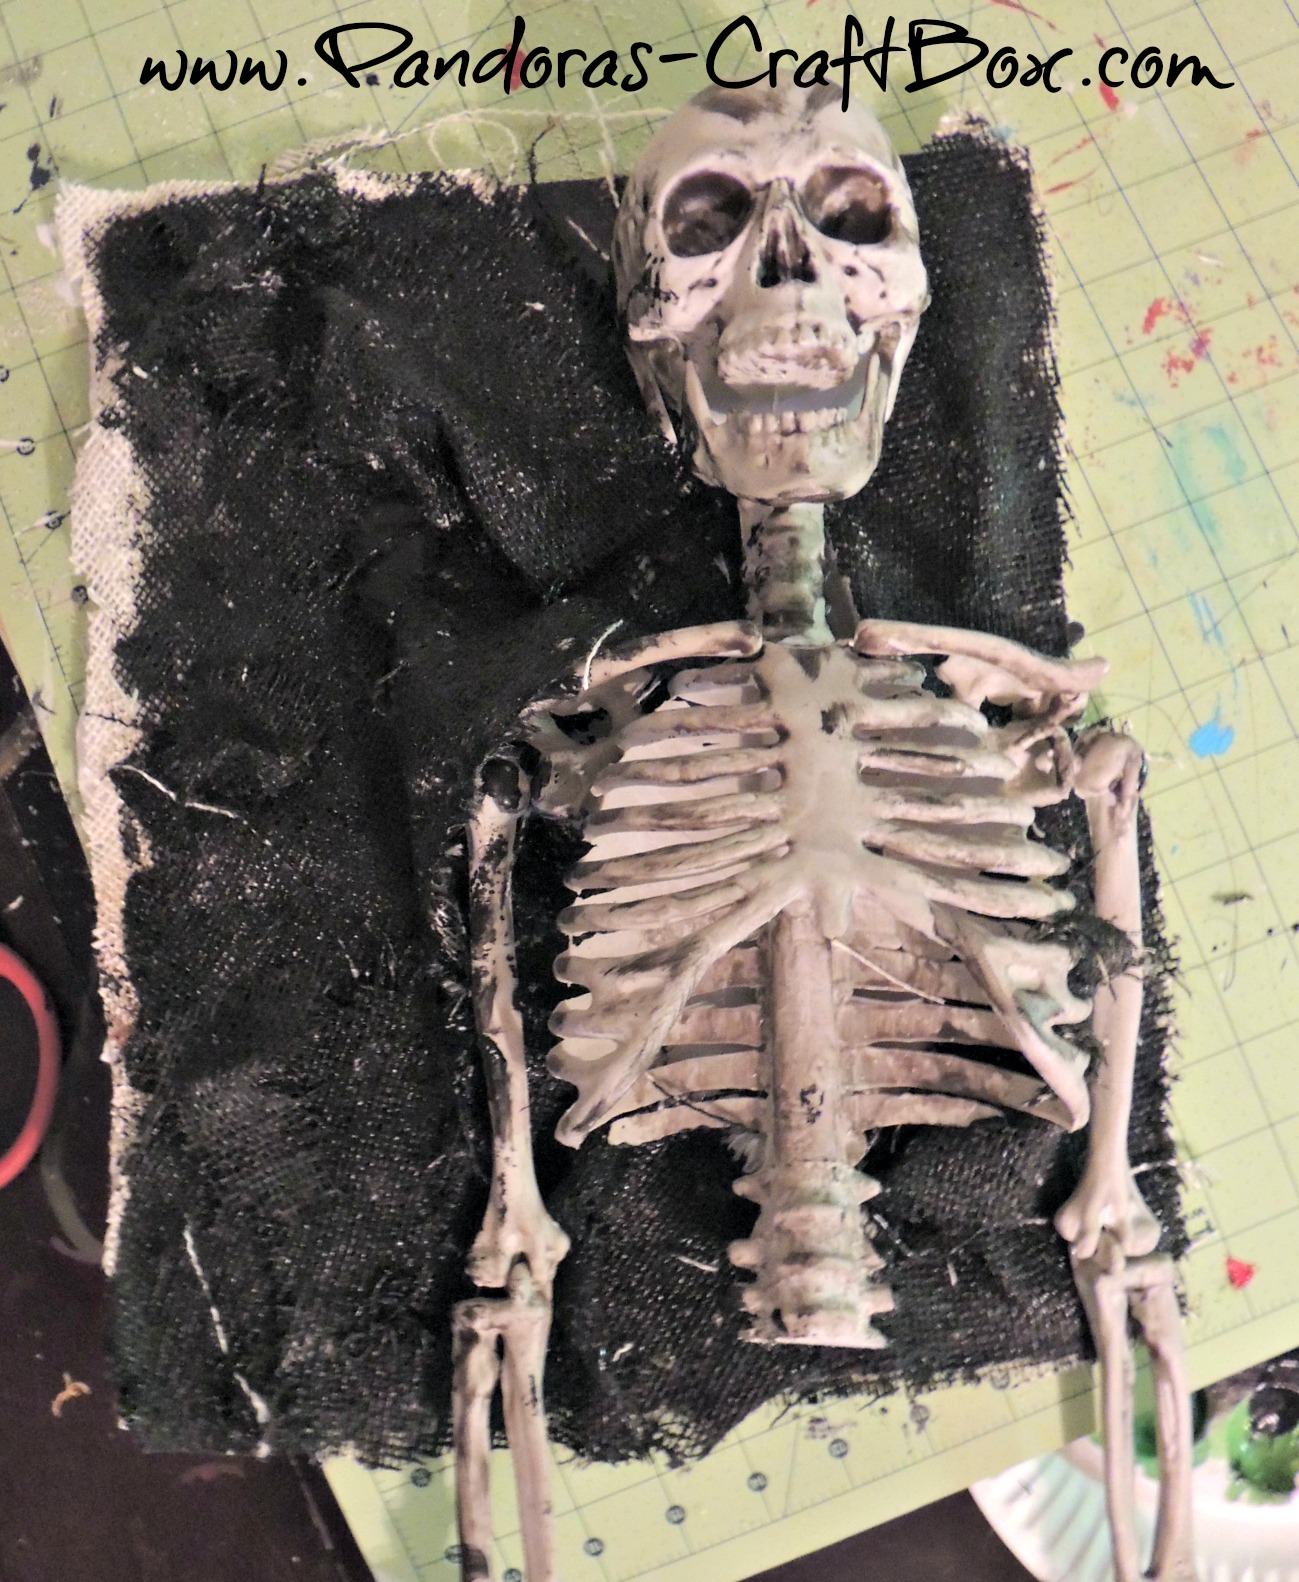
Also use the modge podge to clue the down the skeleton. Let the burlap dry for at least 24 hours.
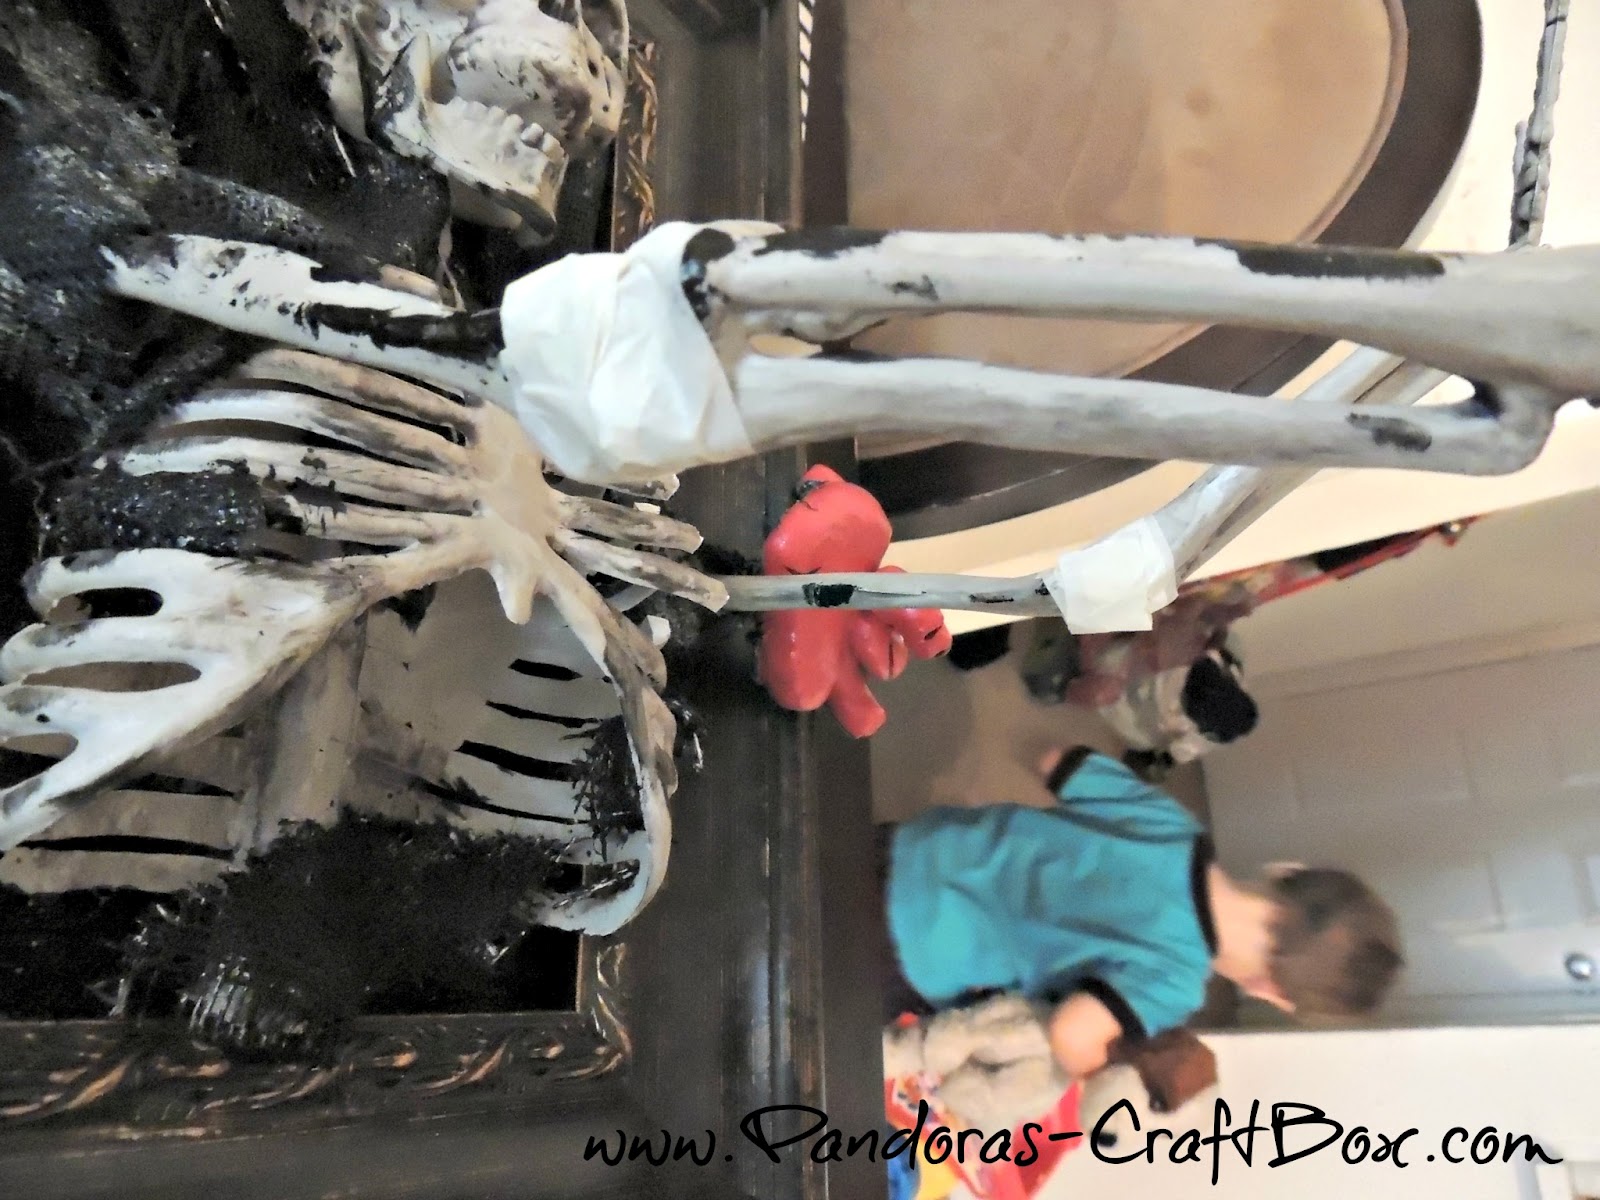
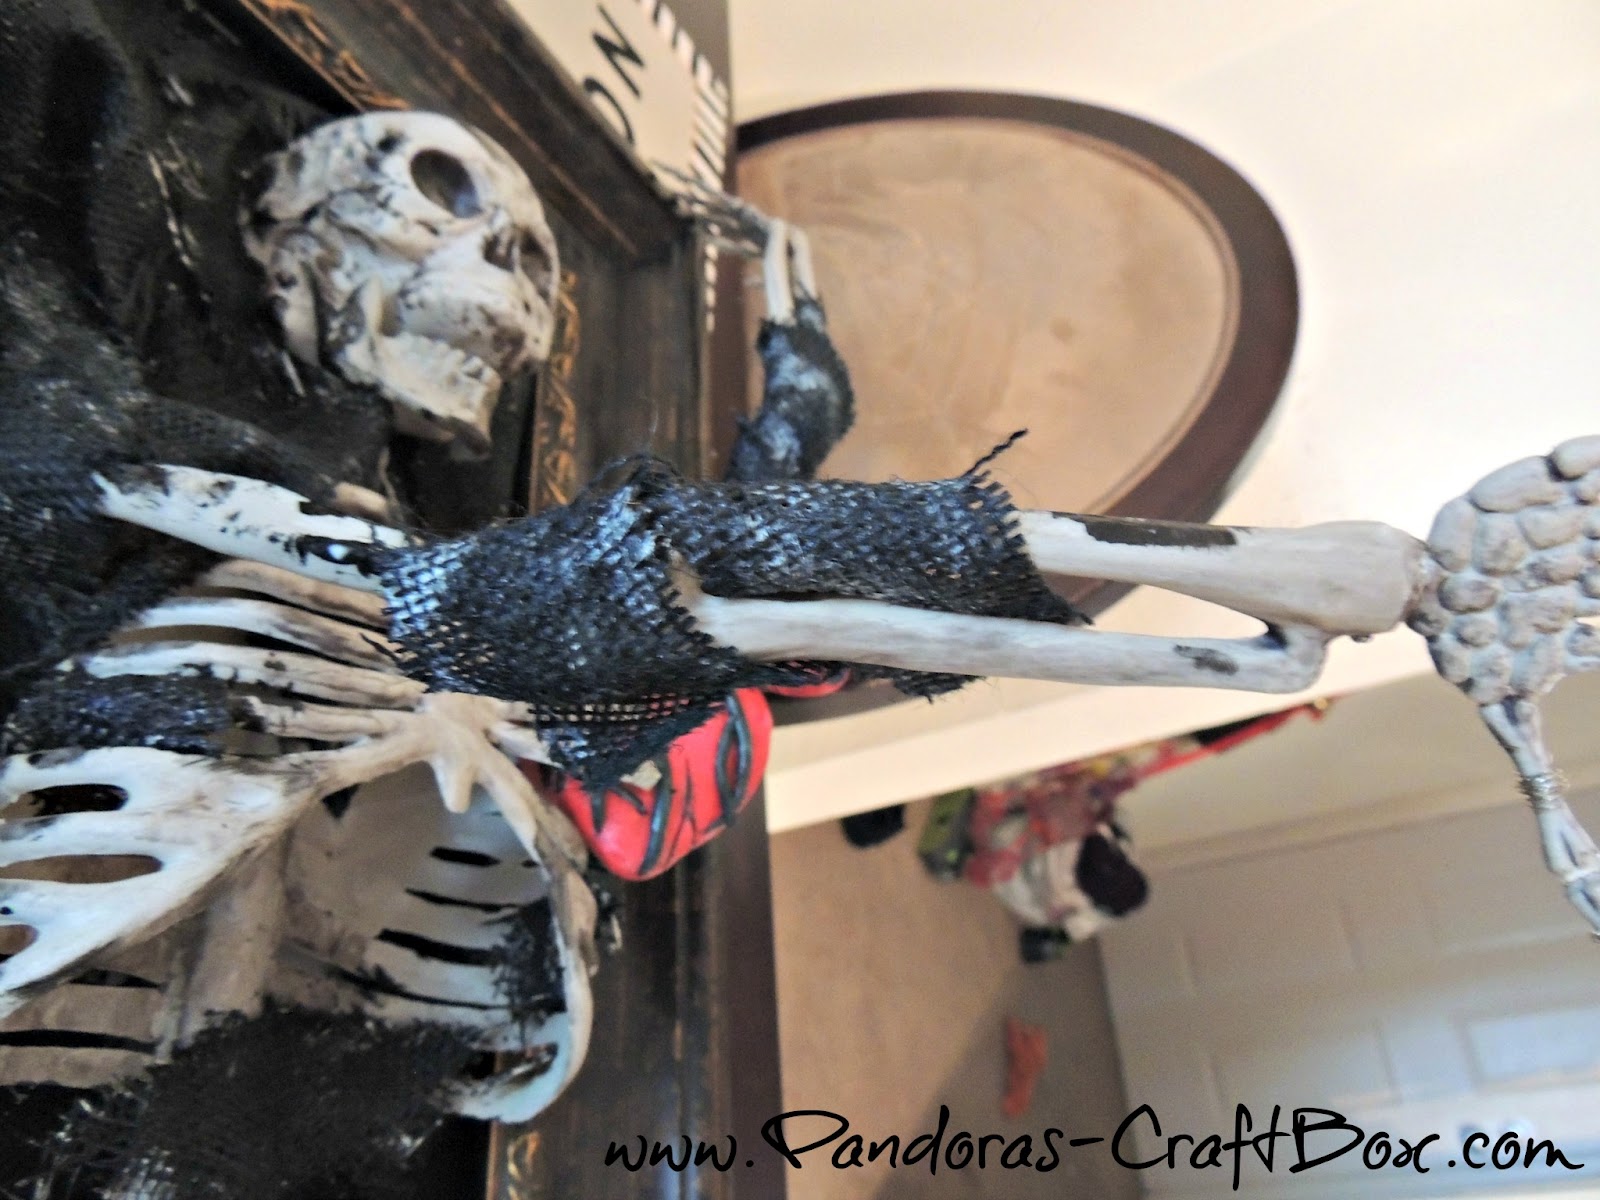
I did not stop there I also cut all the finger off and used the 24 gauge jewelry wire to reattach all the fingers. Can you believe that Joe had to right hands before I did the surgery? haha. Now his finger can bend and point at you.
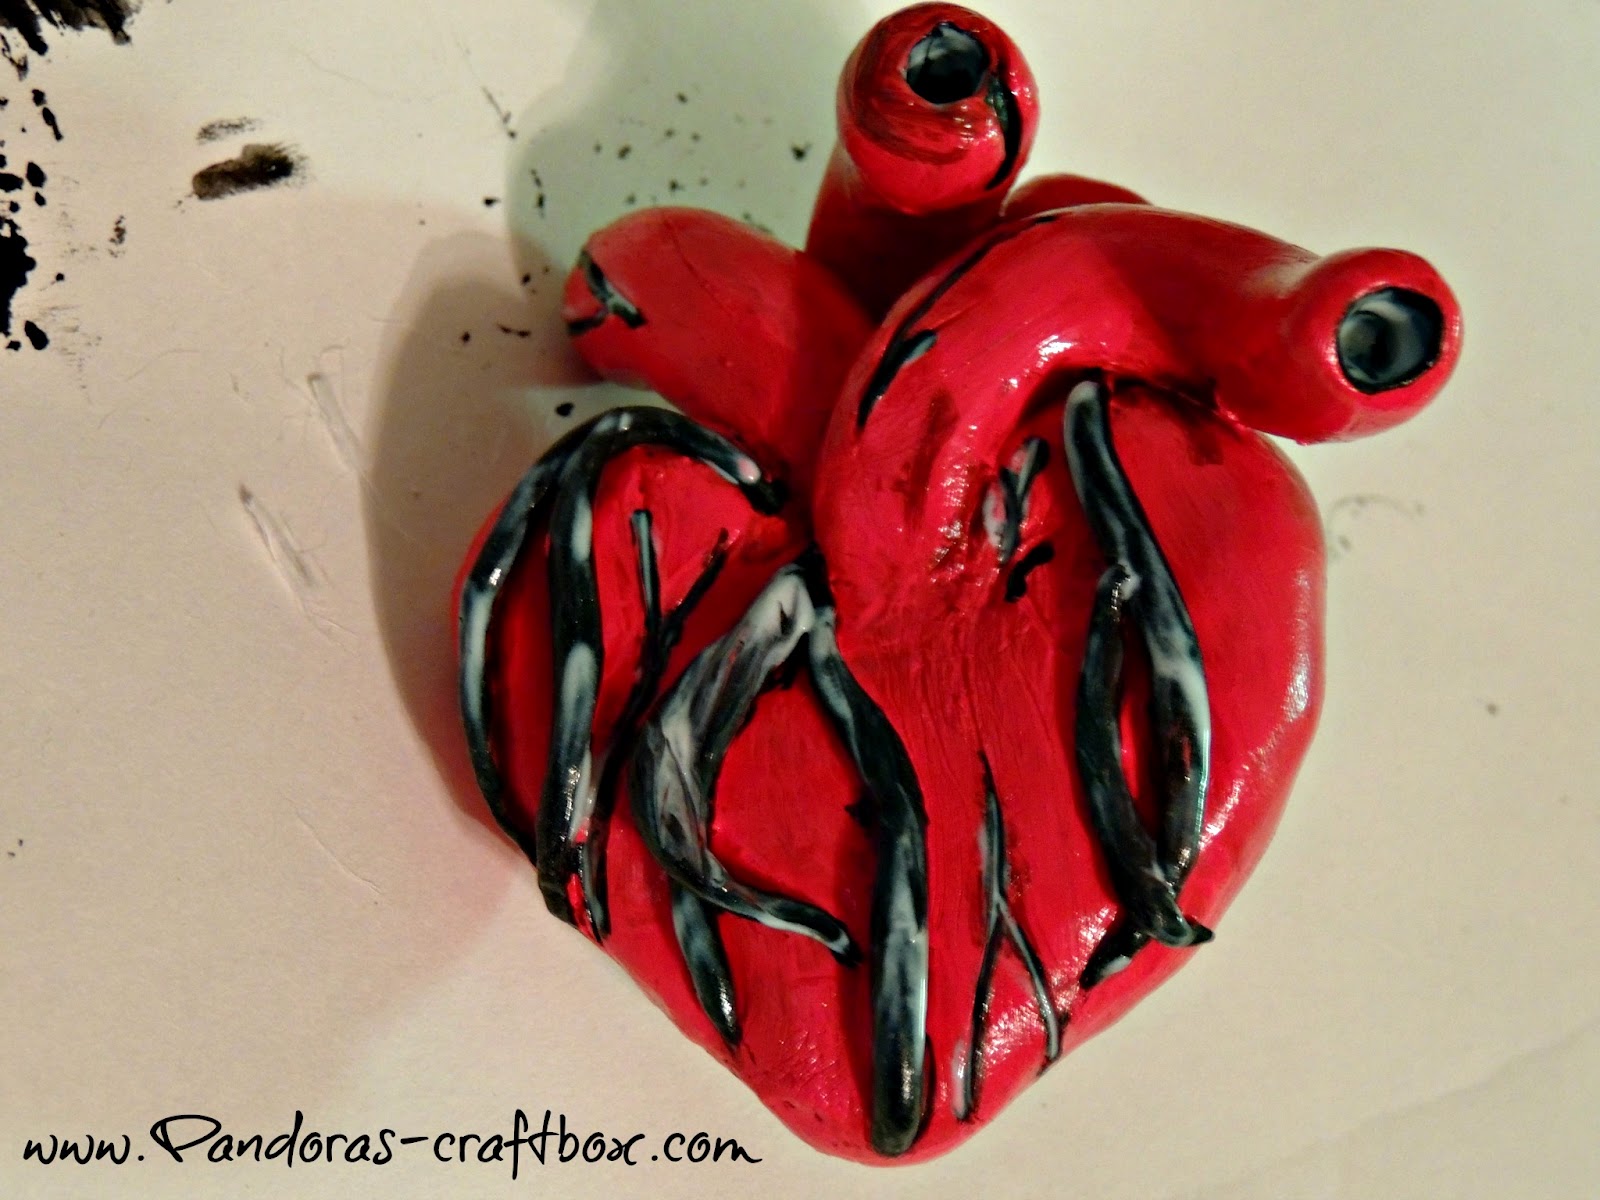
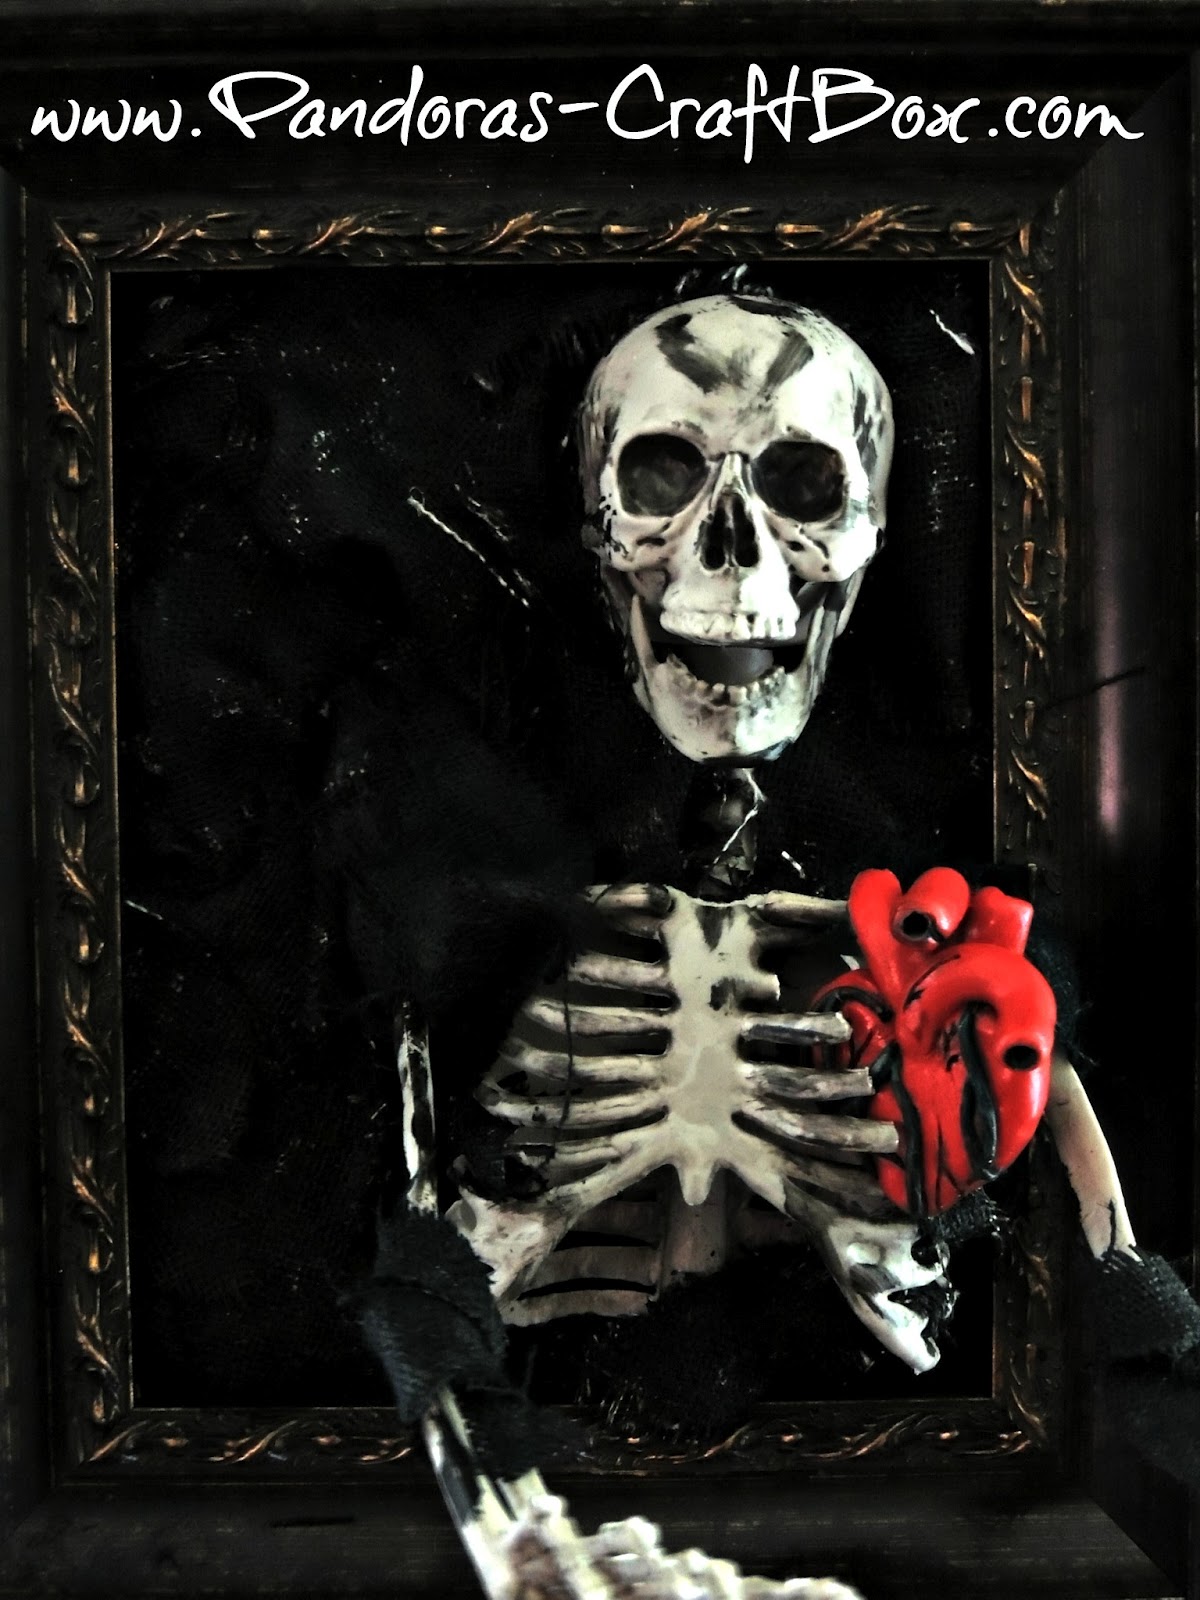
The last thing I did was make a heart out of clay to be place in rib cage.
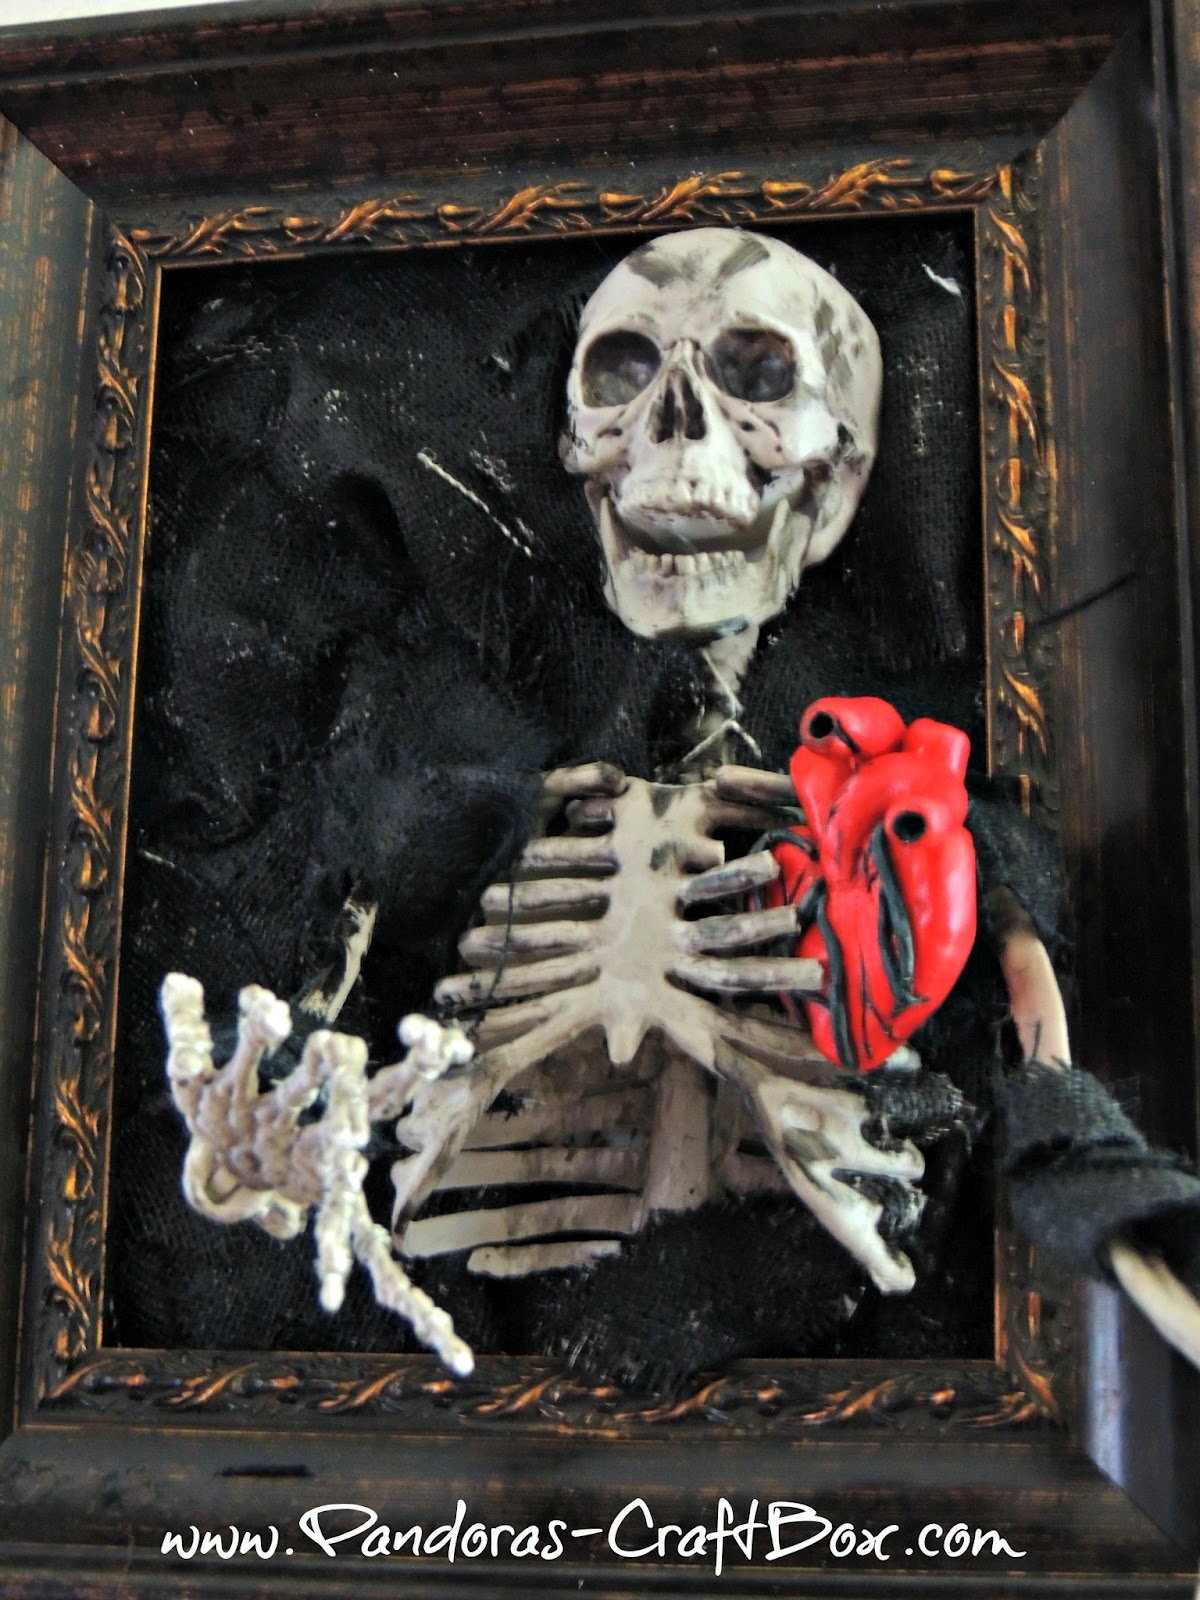
Imagine that you are done with your skeleton frame tutorial. !!!
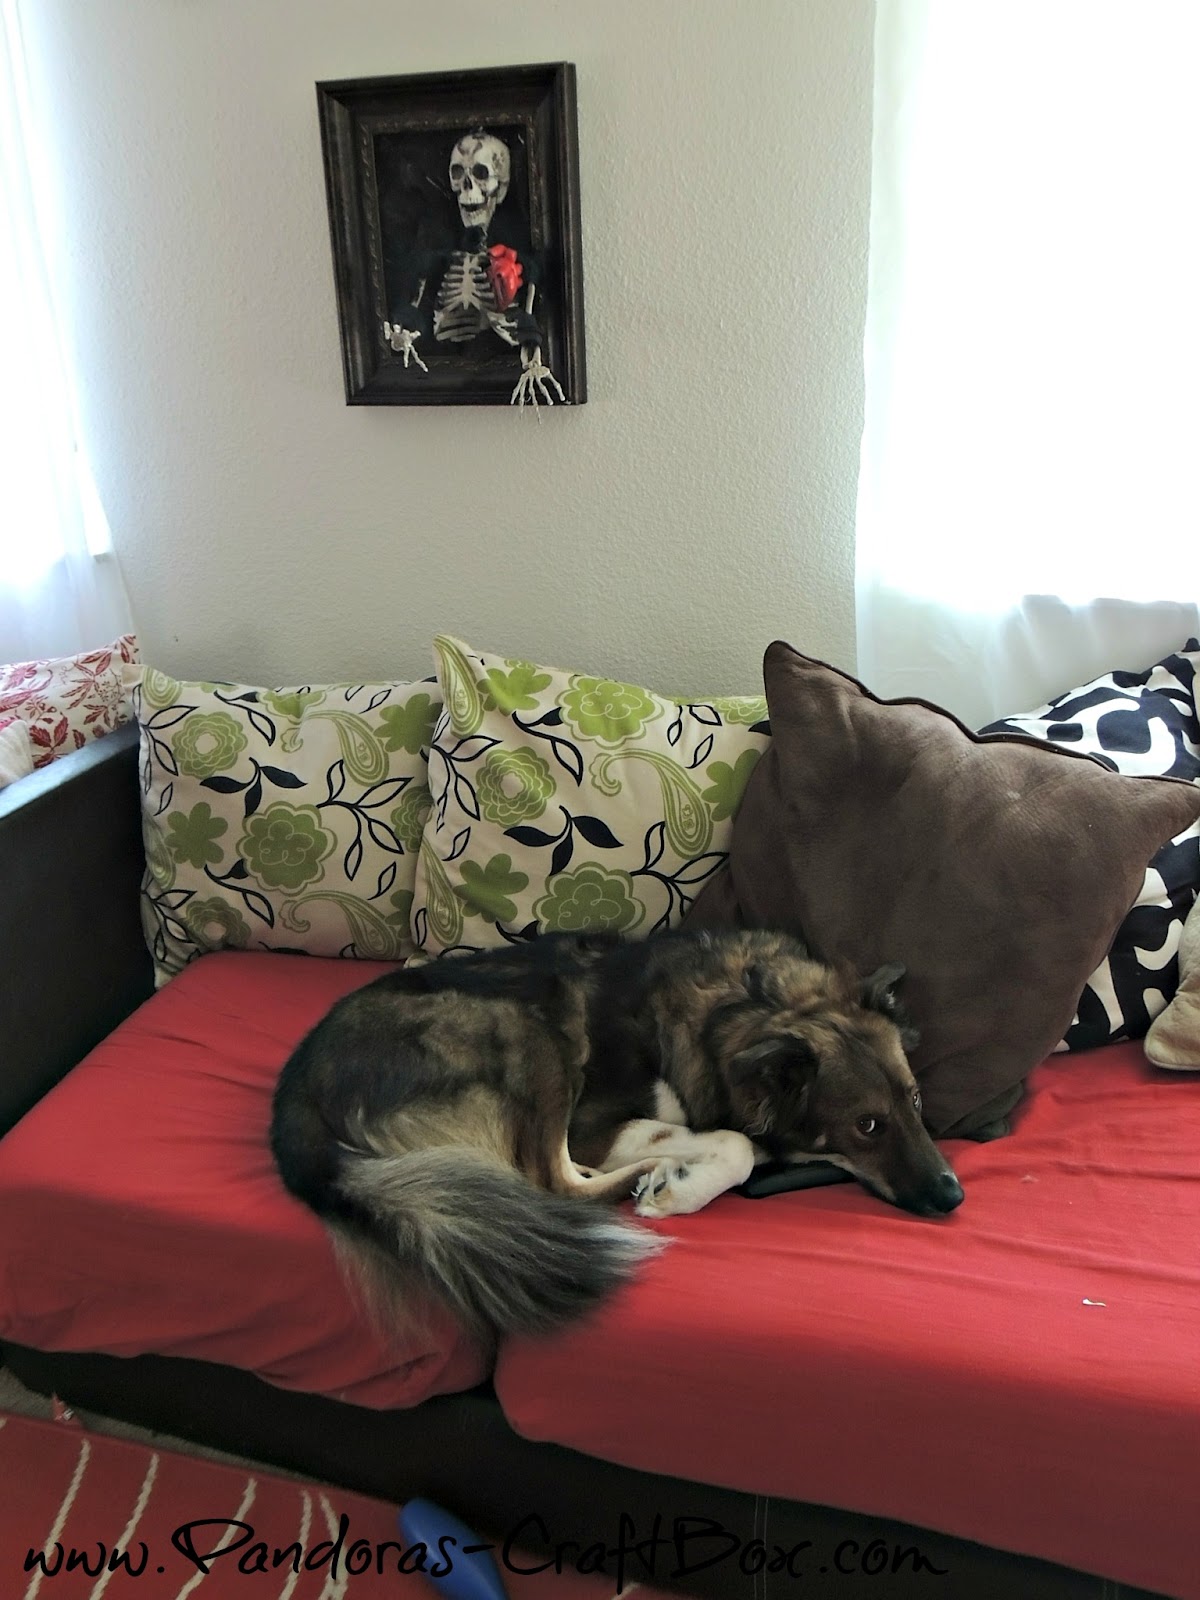
I think my puppy liked it.
Happy Haunting's from Pandora's Craft Box.

21 comments:
So freakin' creepy! I think your doggie thinks so too. Love it and thanks for the tut! xxd
What a fab and wicked project! love it and so did your puppy :)
Holy crow! This is so freakin' cool! I am SO going to need to try this! I love it! Thank you for the rad tutorial.
Oh my gosh....this is fantastic!!!! LOVE it!!
Fabulously freaky :-) I think puppy looks a bit worried though LoL xxx
Great tutorial! Thanks!!
This frickin' rocks!
Creepy! Your dog looks scared! haha Very creative! I'd love for you to share this at my new linky party, Submarine Sunday. I hope you'll stop by!
T'onna
http://navywifeypeters.blogspot.com/2012/10/submarine-sunday-1-linky-party_7.html
That is such an awesome project! Great tutorial.
That is so awesome and spooky! Great idea!
Very Scary, but very cool!! Great Job, nice tutorial. Thanks so much for sharing your original idea and project.
Thanks for linking up at Submarine Sunday!
That is so cool! I absolutely love it. I need to make one for our school's spookhouse.
So cool, looks like you pup knows somethign is going on, lol
This is so awesome--great job!
What a great project and and easy to follow tutorial! Thank you so much for sharing it. Love that he's holding a heart too! How fun! Happy to be following you via GFC and looking forward to more!
I love this in so many ways!! The little heart breaking out of his chest is perfect. And I just adore how the poor guy reaches out for somebody to hold him... awww!
Thanks for this post, I'll be coming back to it time and again!
so neat and super creepy!
Oh my so creepy, Love the heart breaking out of its shirt! So cool! Thanks for sharing your inspiration with Sunday’s Best - you helped make the party a success!
This is sooooo creepy! Great job. Thanks for linking up To Whimsy Wednesday!
Kelly,
Smart! School {House}
This is super rad! Thanks so much for sharing on Marvelous Mondays! I will be featuring this on my blog this weekend. Have a great weekend!
Julie
www.thisgalcooks.com
Post a Comment